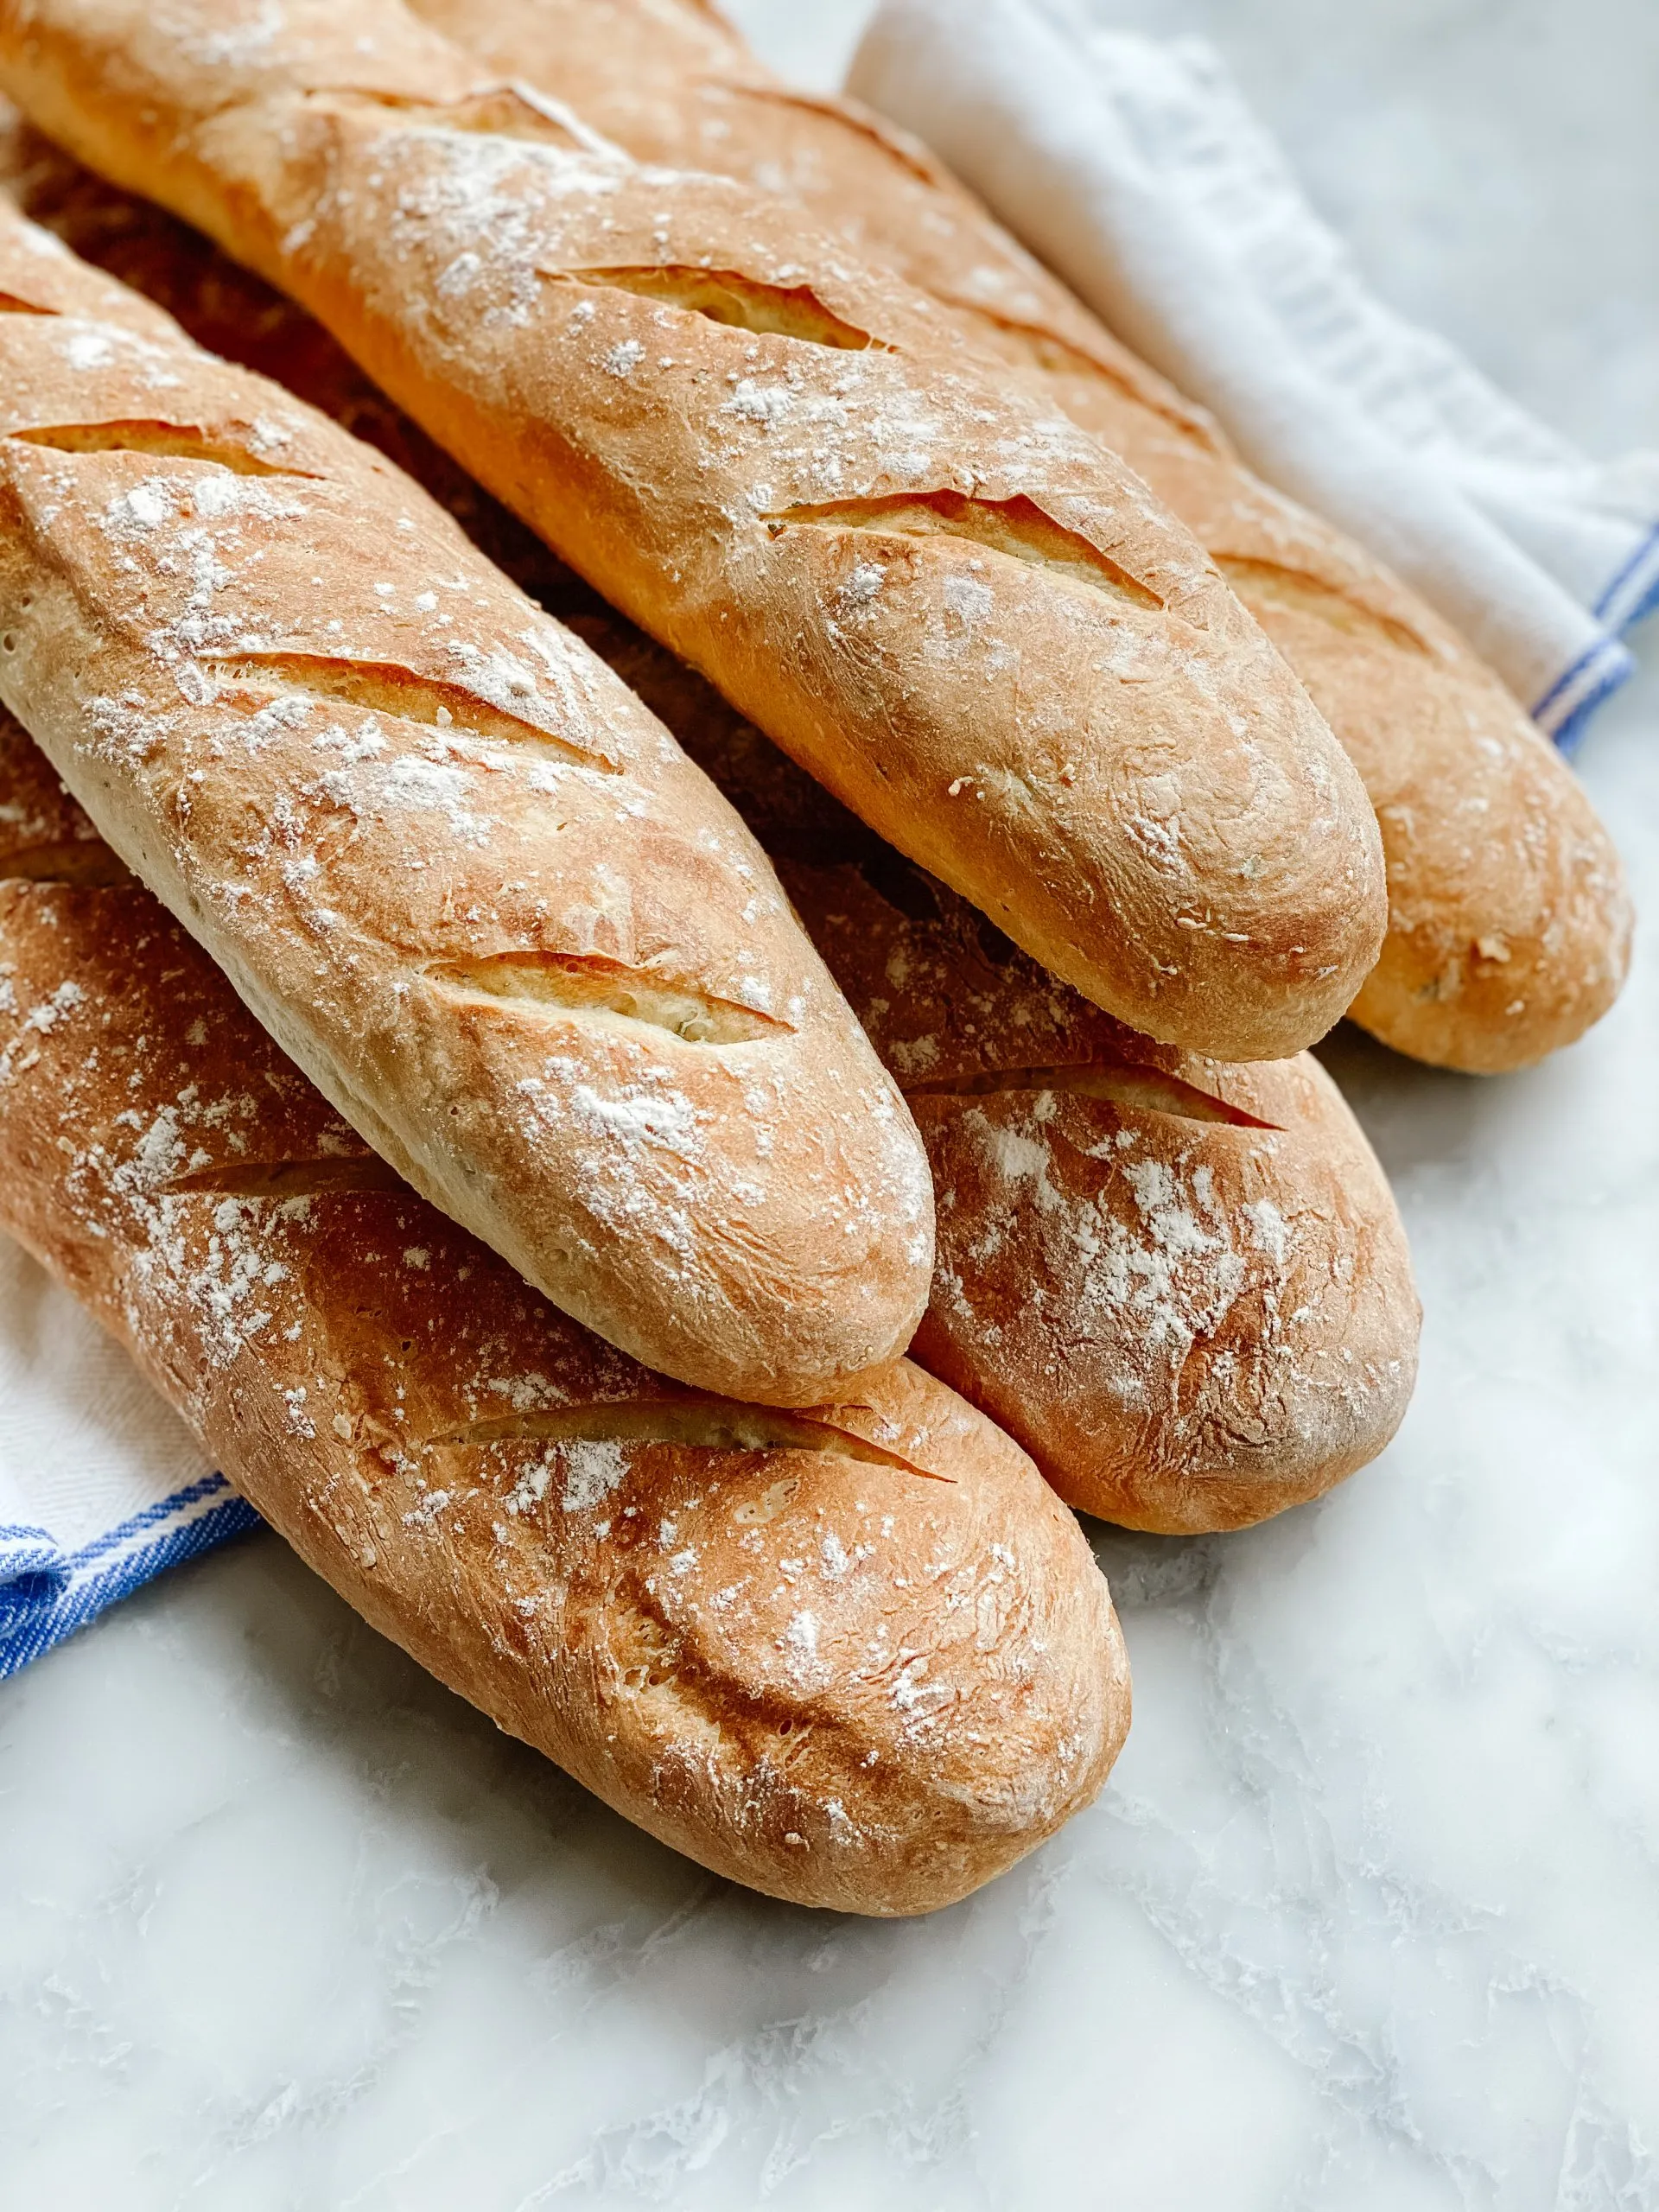
This is the best quick, easy French Baguette recipe ever! Want to learn how to make the most beautiful, crusty French Baguettes even if you are a complete beginner at baking?
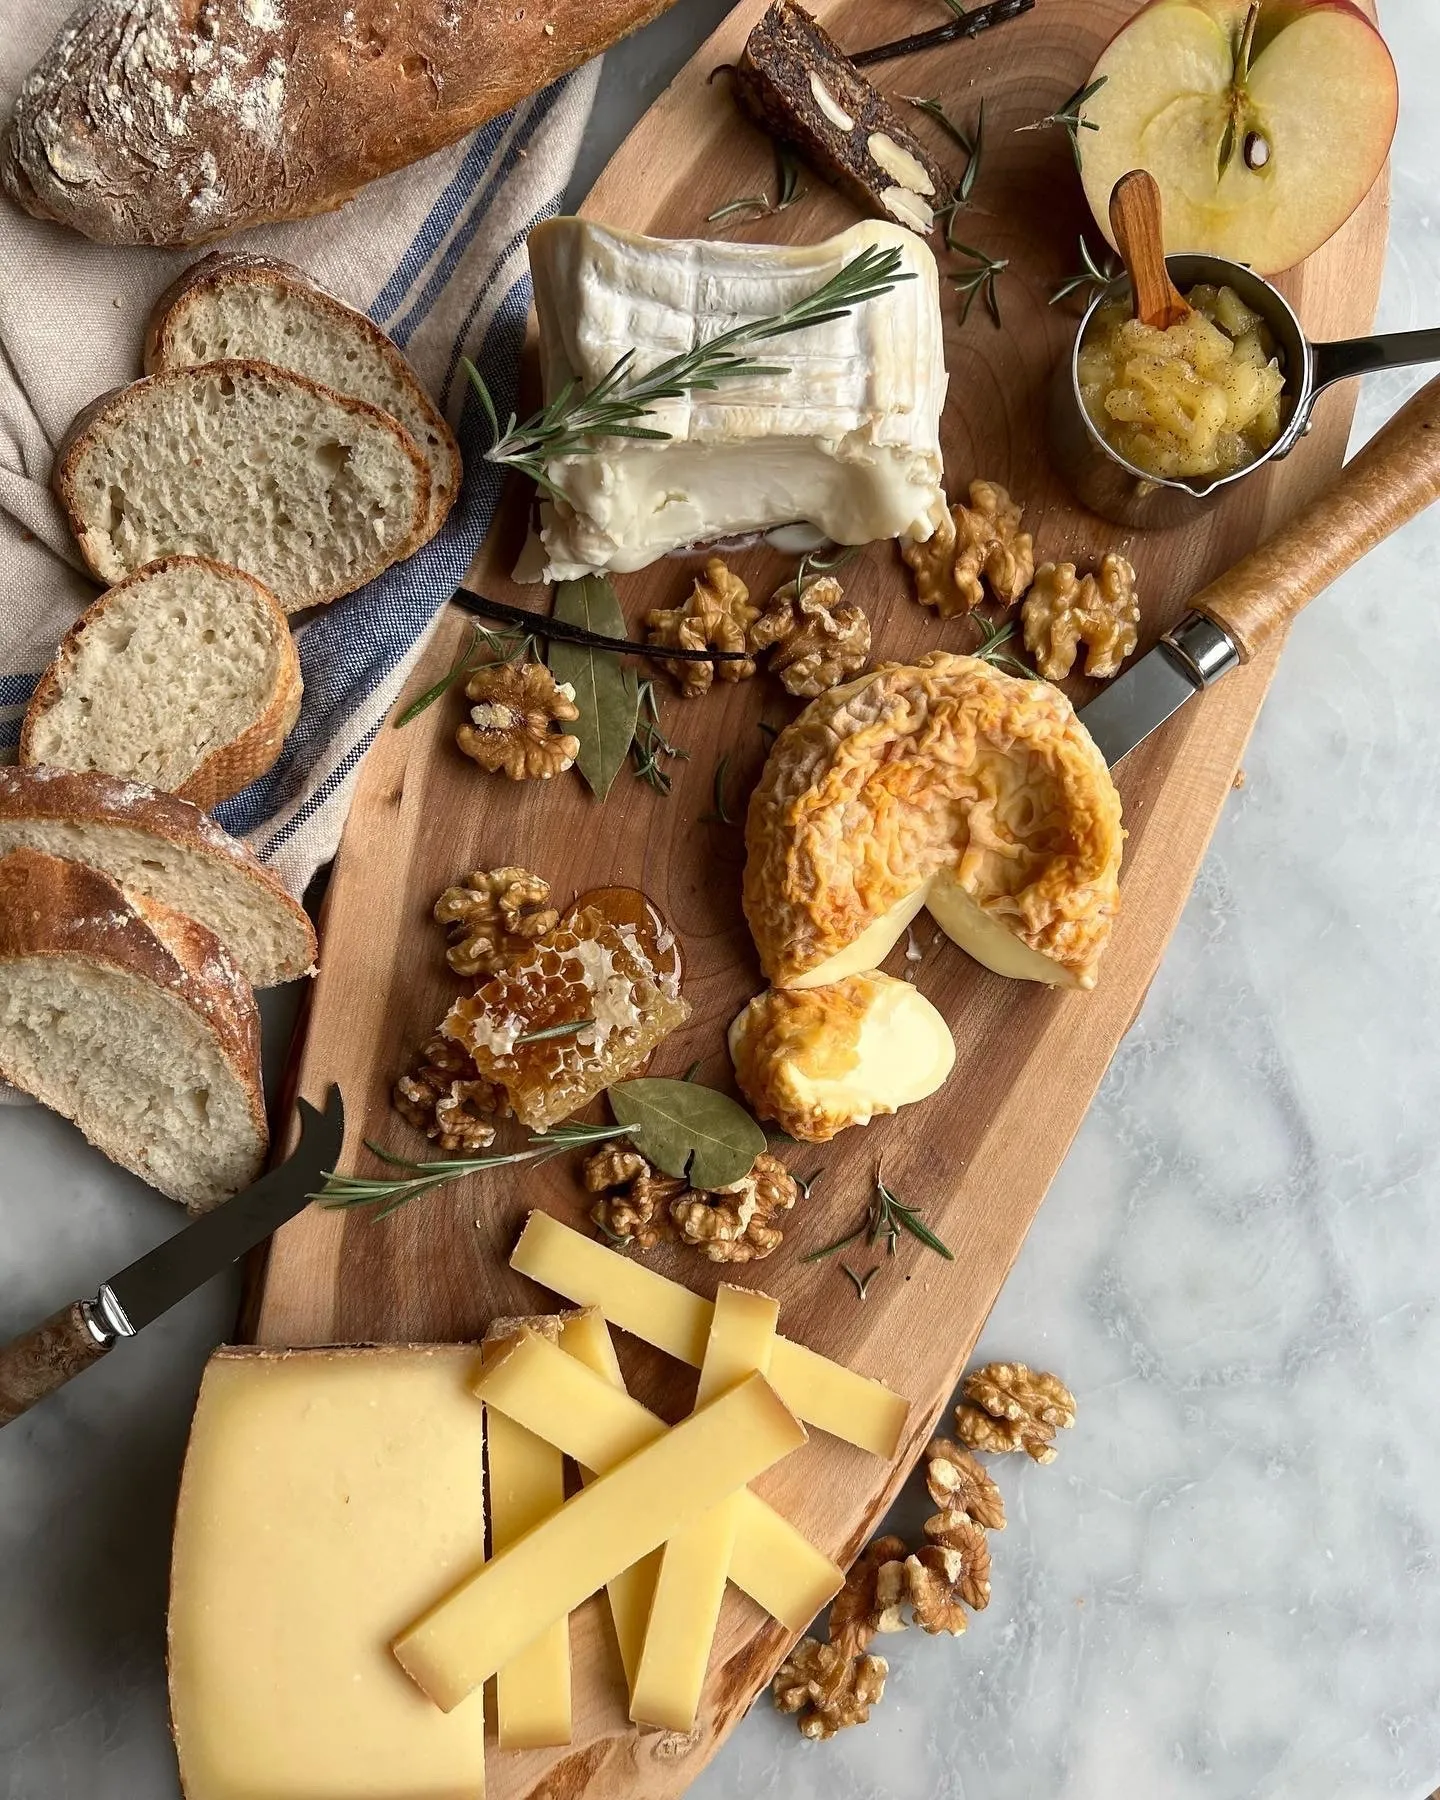
This French Baguette recipe will immediately add a "je ne sais quoi" to your meal. The perfect accompaniement to a French cheese board or French charcuterie board. You will also love my French Onion Soup Gratinée recipe , Lemon Thyme French Roast Chicken (Poulet Rôti) , French Salade Niçoise Recipe or Authentic Olive Tapenade. Any of these recipes will immediately transport you to France.
J'Adore! Would you like to save this recipe?
You might have heard that the French Baguette was recently inducted into the UNESCO World Heritage List as an element of Intangible Heritage. In other words, the French Baguette is a BIG DEAL! The French have always known that the Baguette was special, but it is a significant recognition to have the Baguette awarded a place on the list of Intangible Cultural Heritage with the expertise behind the French Baguette named an essential part of human culture.

Making French Baguettes at Home
While the authentic French Baguette takes a few days and some serious practice to make, I am happy to share my version of Baguettes for Beginners - a 2 hour recipe that results in crusty delicious baguettes in your own home, even if you have never baked before.
You can follow the recipe below or else order the Baguettes for Beginners workshop - where I walk you step by step through baking your very first Baguettes. Each order also includes a Baking Baguettes for Beginners Ebook that includes very detailed instructions for baking, storing and recipes.
Easy French Baguettes
If you live in France, you have access to an incredible "Boulangerie" (bakery) that makes fresh baguettes everyday, their perfume wafting through the air, luring you in, sometimes multiple times in the same day. The morning, it is for a baguette, a croissant or a pain au chocolat. The afternoon it is for a palmier or a chouquette as you pick up a baguette artisinal to savor with your evening cheese plate.
For those of us who do not have a Boulangerie on the corner of our street - finding fresh baked crusty French Baguettes can be more of a challenge. Admittedly, I have succumbed from time to time to the Baguettes at my local grocery store in the suburbs of Washington, DC, but the pale, thin crust and pasty inside quickly remind me that no, these are not the same thing. To say that they pale in comparison would be an understatement.
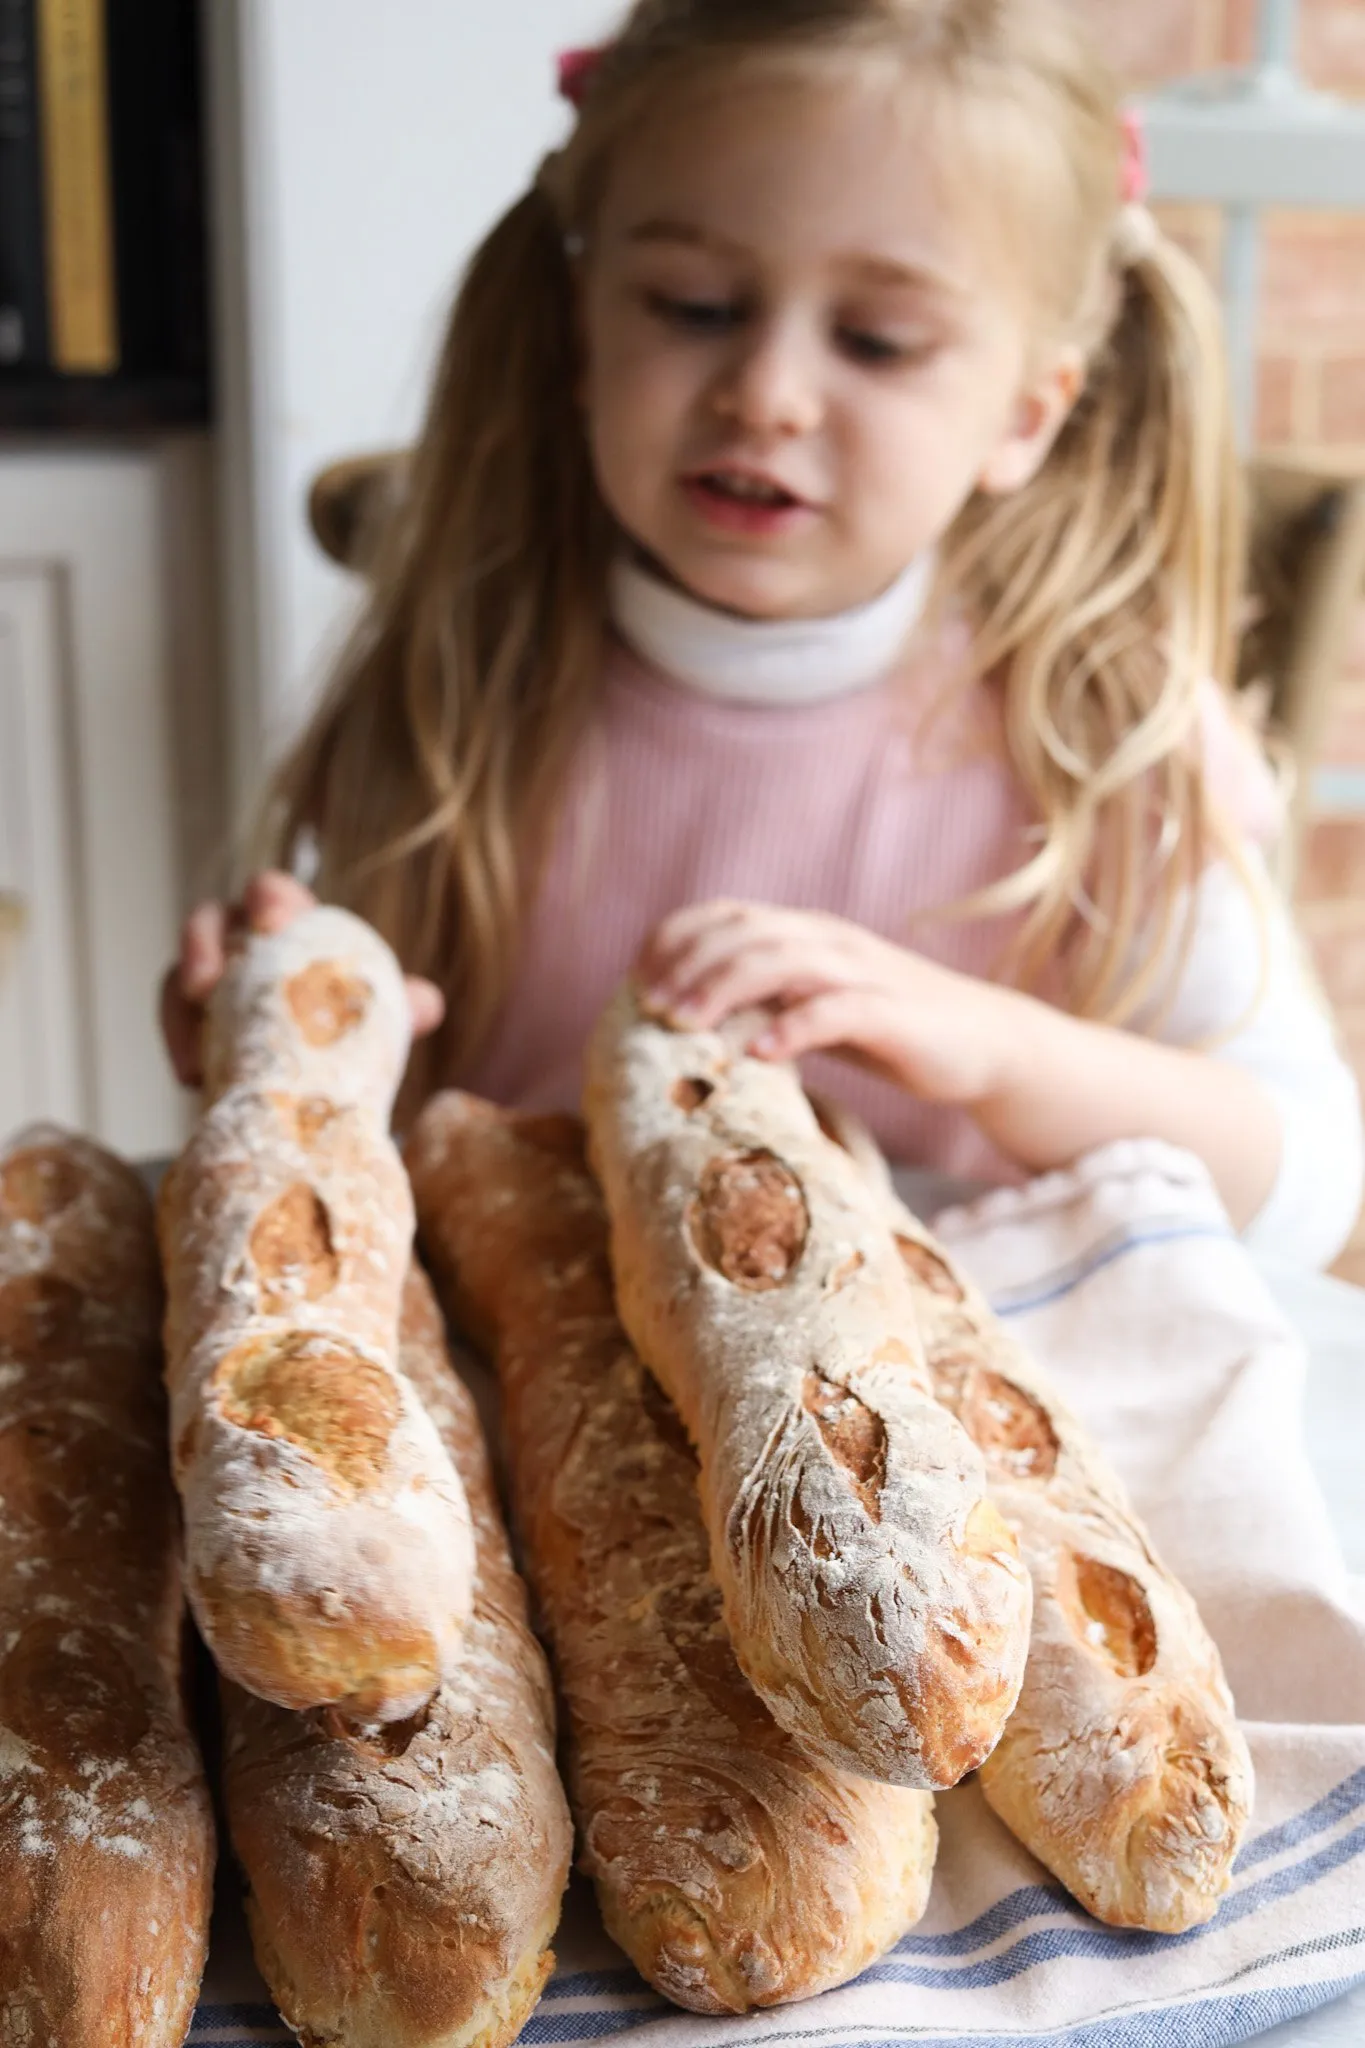
Quick, Easy French Baguettes at home
Baguettes have always intimidated me. They seem too complicated, requiring too much expertise for a busy working mom like me to be able to master. But over the past 2 years I have been perfecting a recipe for the quickest, easiest baguettes EVER.
I can wake up on a Saturday morning at 7am and, with a few ingredients and minimal intervention, have fresh baked crusty artisanal baguettes on the table for the family by 9am. There is nothing better than putting crusty, hot baguettes out on the table with some butter and jam. The perfume of baguettes gets even the sleepiest kid out of bed!
A simple meal of homemade soup is rendered sublime with a good baguette. As is a summer salad Niçoise. The joy of tearing into a homemade baguette is second to none and is a key ingredient for keeping the "joie de vivre" (joy of life) that I loved so much on the French Riviera alive, now that we live in the USA.
After literally hundreds of baguette trials, I was happy to host my very first Baguettes for Beginners Workshop!
The live recording is available for you to watch over and over again.
Quick and Easy French Baguette Recipe:
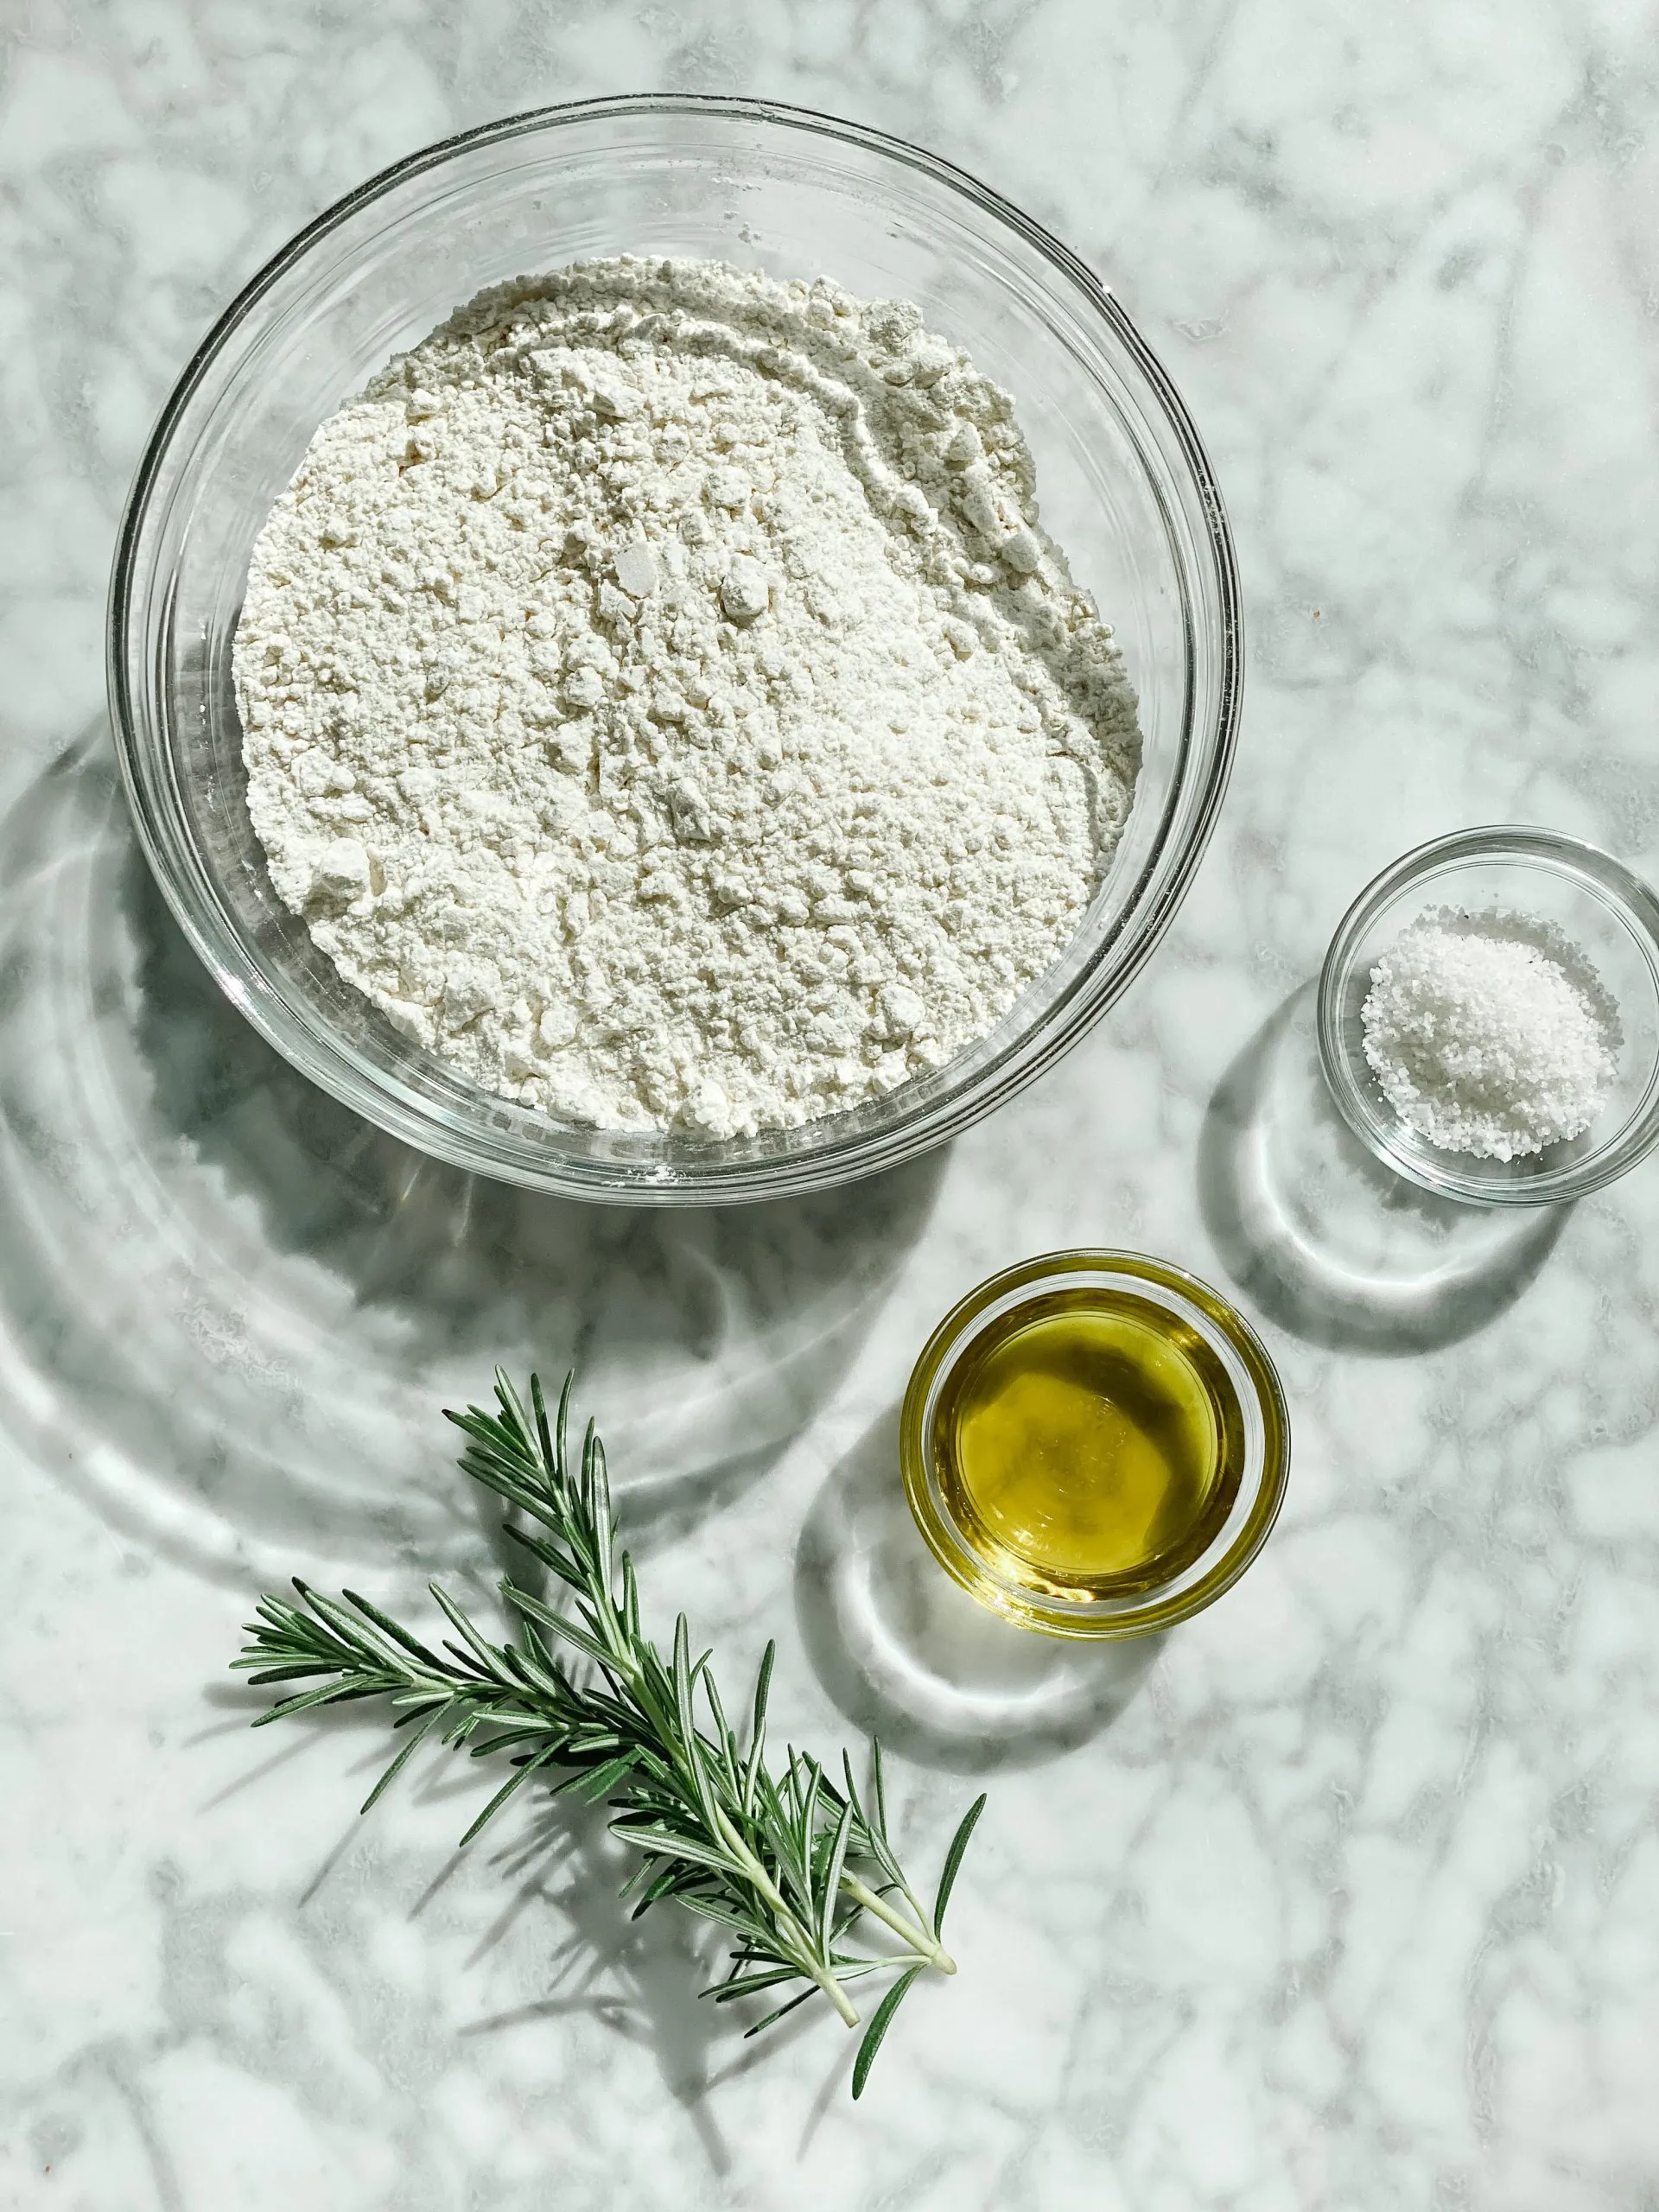
Recipe Ingredients
Total Prep time: 20 minutes.
Total cooking and rising time: about 2 hours
- 8 grams dry active yeast (or about 2 teaspoons)
- 1 tablespoon honey (natural honey worked better than the squeezable one)
- half tablespoon fleur de sel ( if you are using table salt, use only a teaspoon!)
- 1 ¼ cups warm water (not too hot - you don’t want to cook the yeast, just wake it up)
- 2 ½ cups bread flour (I used all purpose flour which also worked fine)
- 2 tablespoons olive oil
Tools needed for baking baguettes for beginners:
- A pastry scale ( definitely worth the $26 if you plan on baking a lot, but is not necessary for this recipe). This is the one we have.
- a spatula ( I love this Marseille Blue set from Le Creuset)
- a big mixing bowl
- measuring cups
- a baking sheet that supports high temperatures (460 degrees)
If you want to get fancy with me you can also use a baguette pan, but it is not necessary!
Instructions
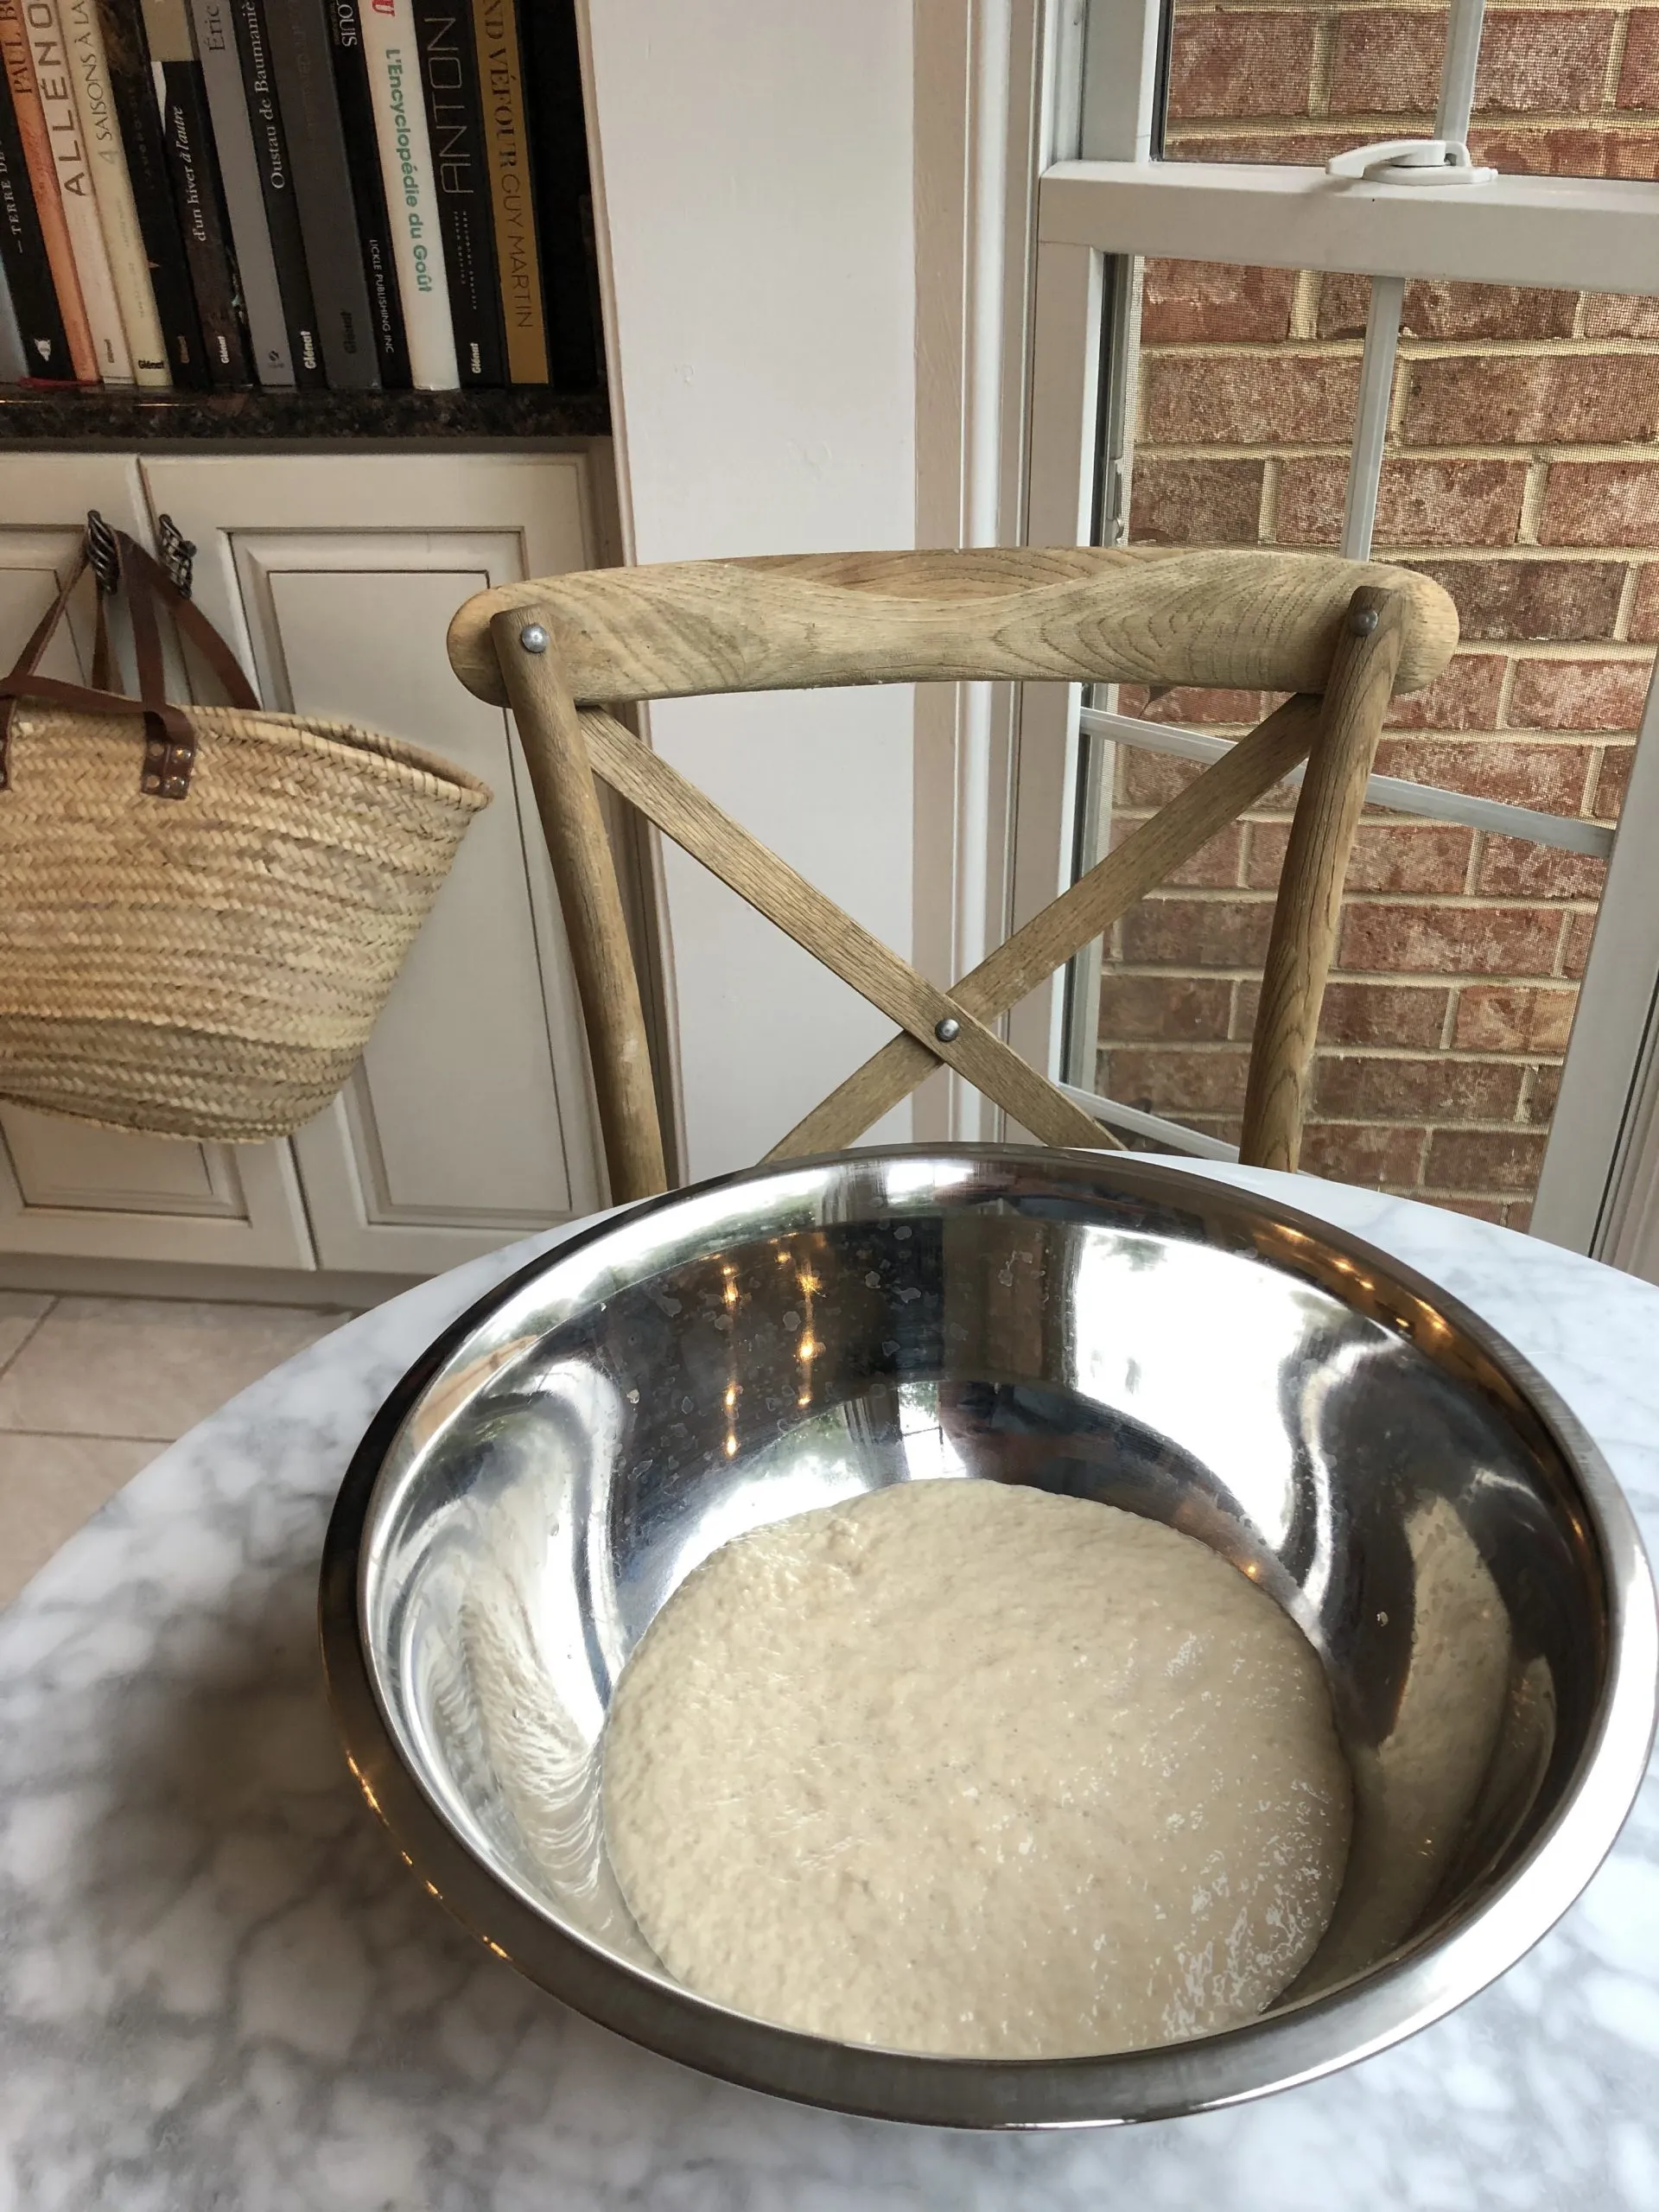
Proof the yeast with the honey and warm water. For bread making novices, this means putting the warm water in a large bowl and adding the yeast and honey. Give it a little stir and then let it sit on the counter for 10 minutes. You will see the grains of yeast wake up and rise to the surface and expand. This is a cool process to share with kids!
Below photo shows yeast that is proved, it looks almost foamy.
Once proofed, add salt and slowly add the flour and olive oil until a shaggy dough is formed. I started using a spatula and then dug in with my hands to work in all the flour. Form a round ball in the bowl but be careful not to work the dough too much. No need to use the Kitchen Aid for this recipe!
I started making the dough, then Le Chef took over... 😉
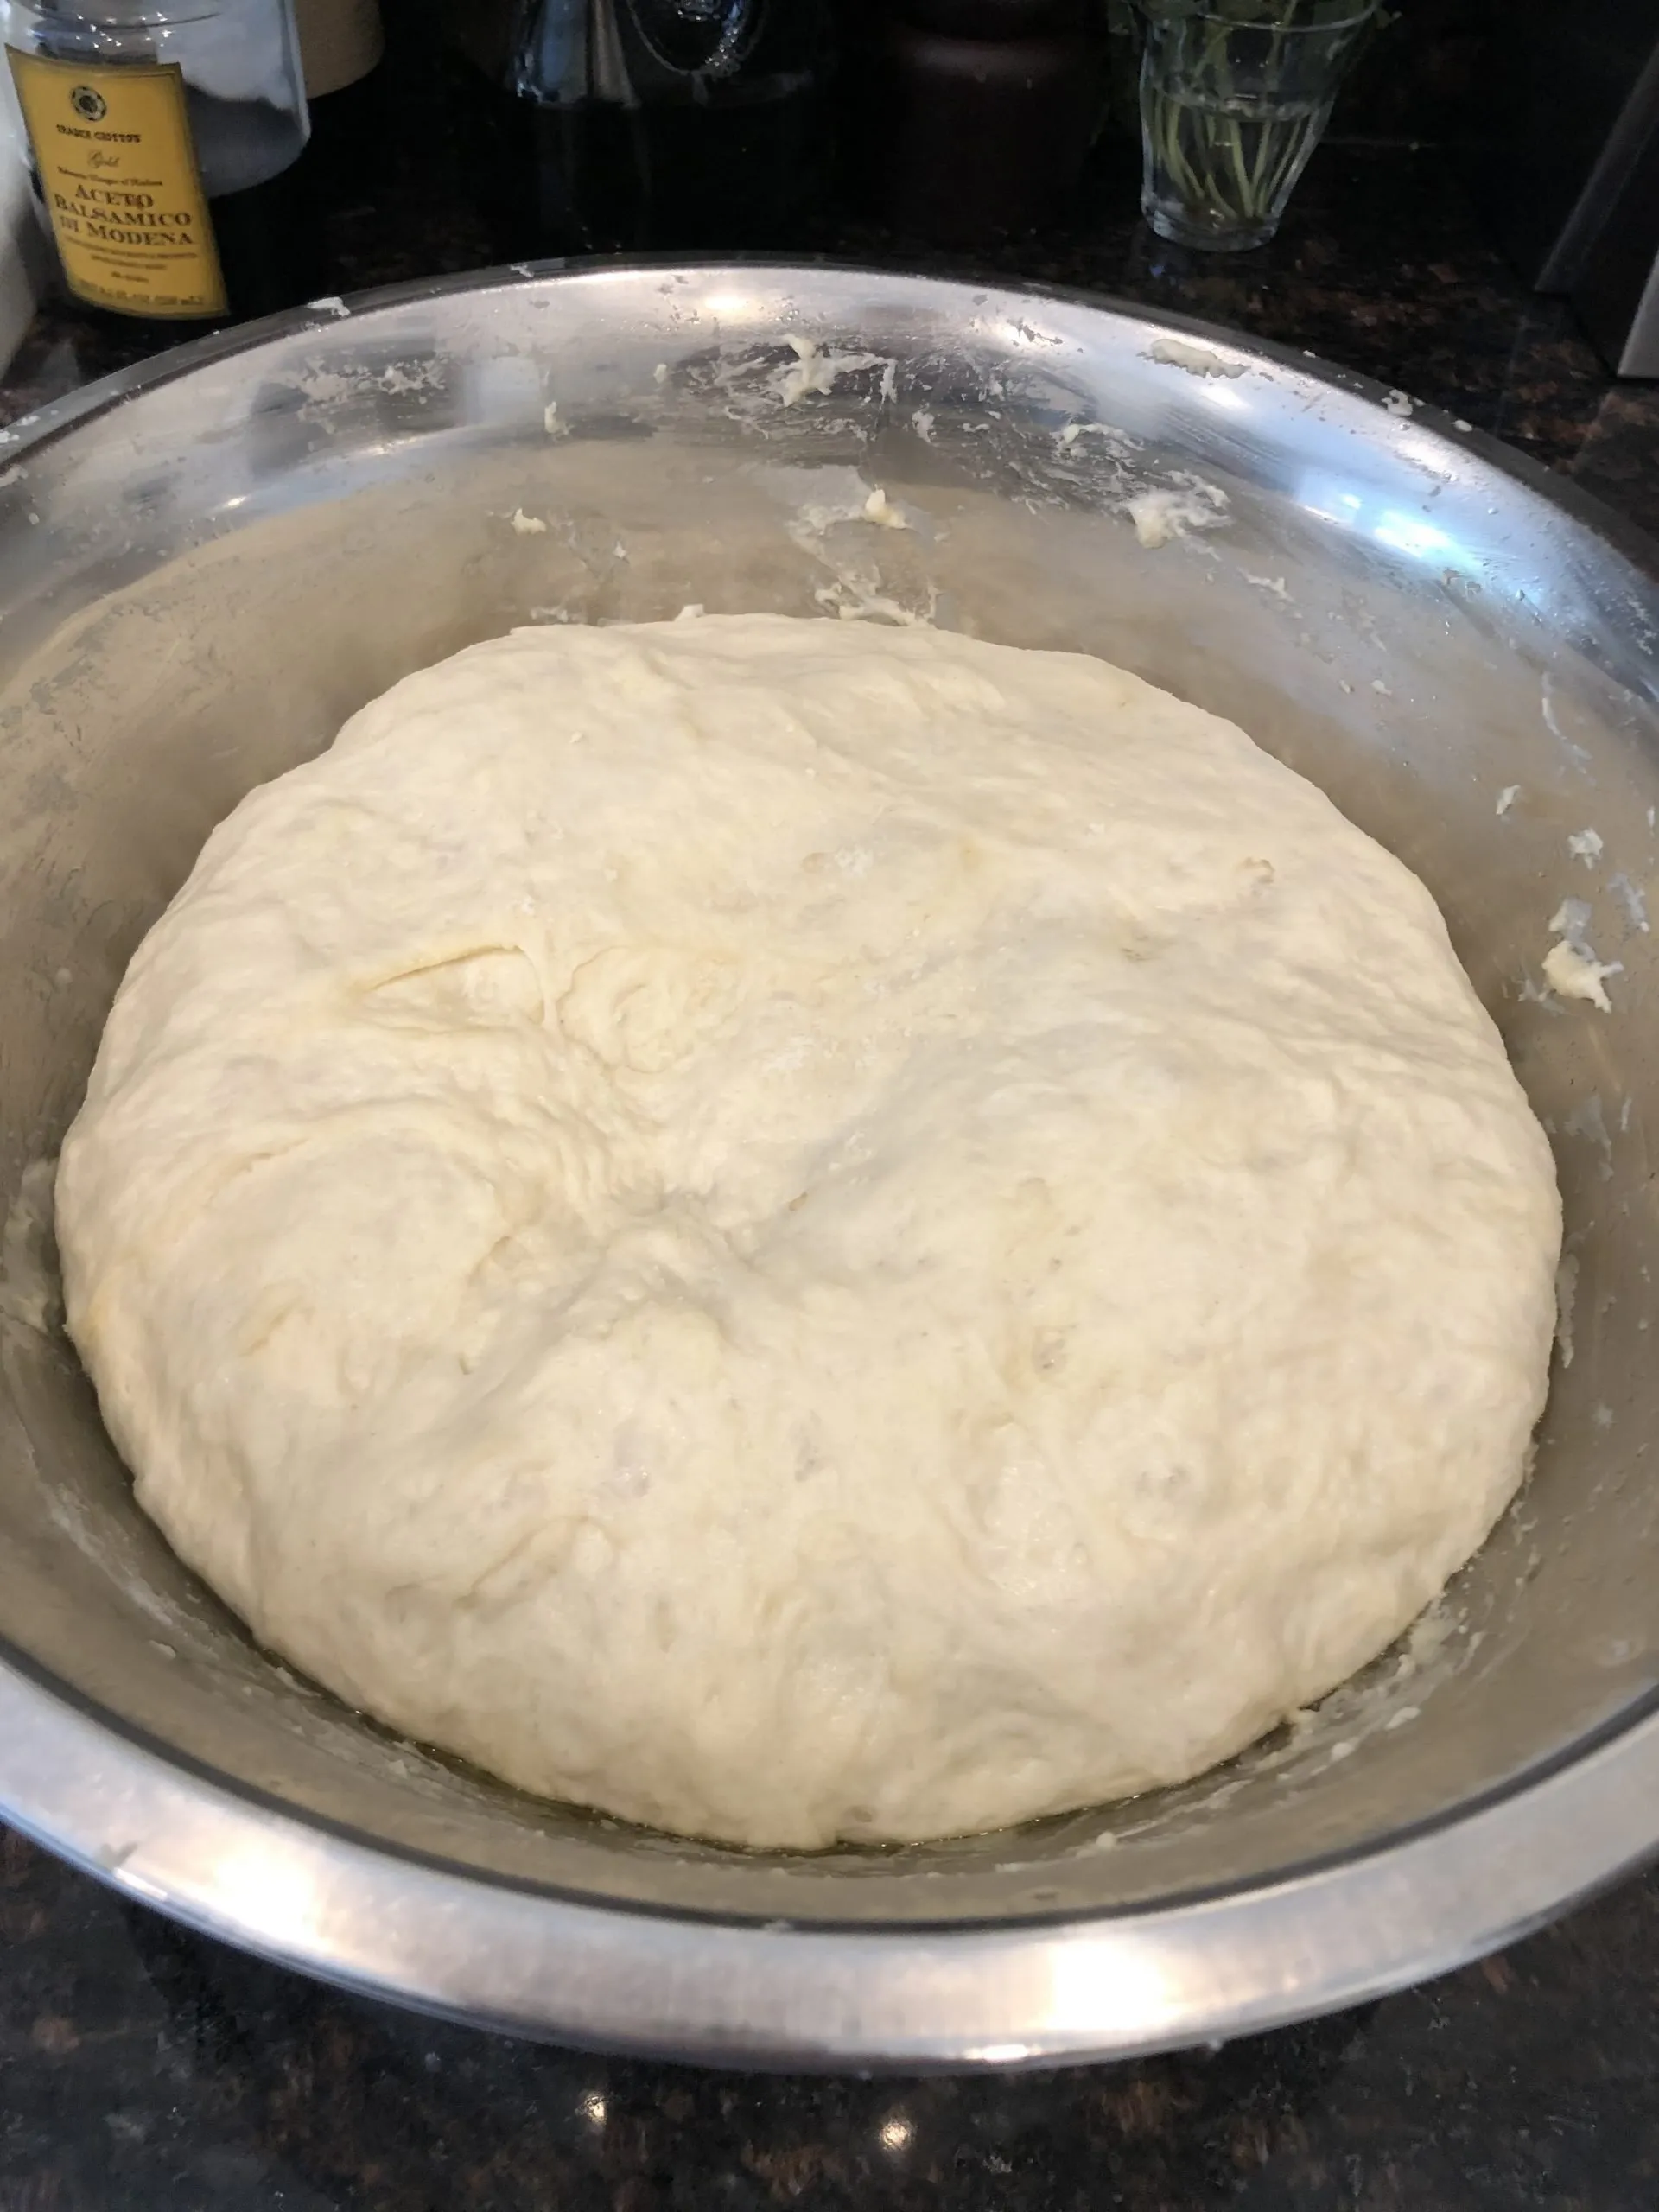
Dust the top of your dough ball with little bit of flour then cover with a towel. My Nanny’s trick was to wet a thin tea towel with hot water to cover the dough with and then place the bowl on top of the fridge. The motor gives off a little extra heat. I don’t have room on top of my fridge but placing the bowl on top of my dryer worked wonders. Ideally a warm place works best but this is not necessary. Let the dough rise until it doubles in size (about an hour). Split dough in 2 and roll out your baguettes.
Rolling out a Baguette
This is where it gets a little technical and where I struggled in my first attempt. Don't expect to make a perfect baguette on your first try. Rolling out dough takes some skill.
Sprinkle flour over your countertop.
Take the first ball of dough and gently knead it with the palm of your hand, until the dough gains a firmer consistency. Fold the dough over itself. Add a little more flour if necessary. (this is necessary if you are baking in a place with high humidity- don't be afraid to add more dough if the consistency is sticky)
Flatten the dough into a rectangle form with your hands (you don't need a rolling pin). Then fold the top of the rectangle down like the top of an envelop, about ¾ of the way down. Using your fingers, press down on the seam.
Roll the folded top of the dough down so that you have a mini oblong rectangle. Press the seams and the flip the seam side down.
Spread your fingers on both hands and gently roll the dough down to create a baguette shape. Roll back and forth to elongate the baguette dough until it is about 12 inches long.
Set the first baguette on your cookie sheet or baguette pan.
Roll out the second baguette.
If you have a razor blade you can make incisions on the top of the baguette. A sharp knife also works using just the tip to make deft cuts into the baguette.
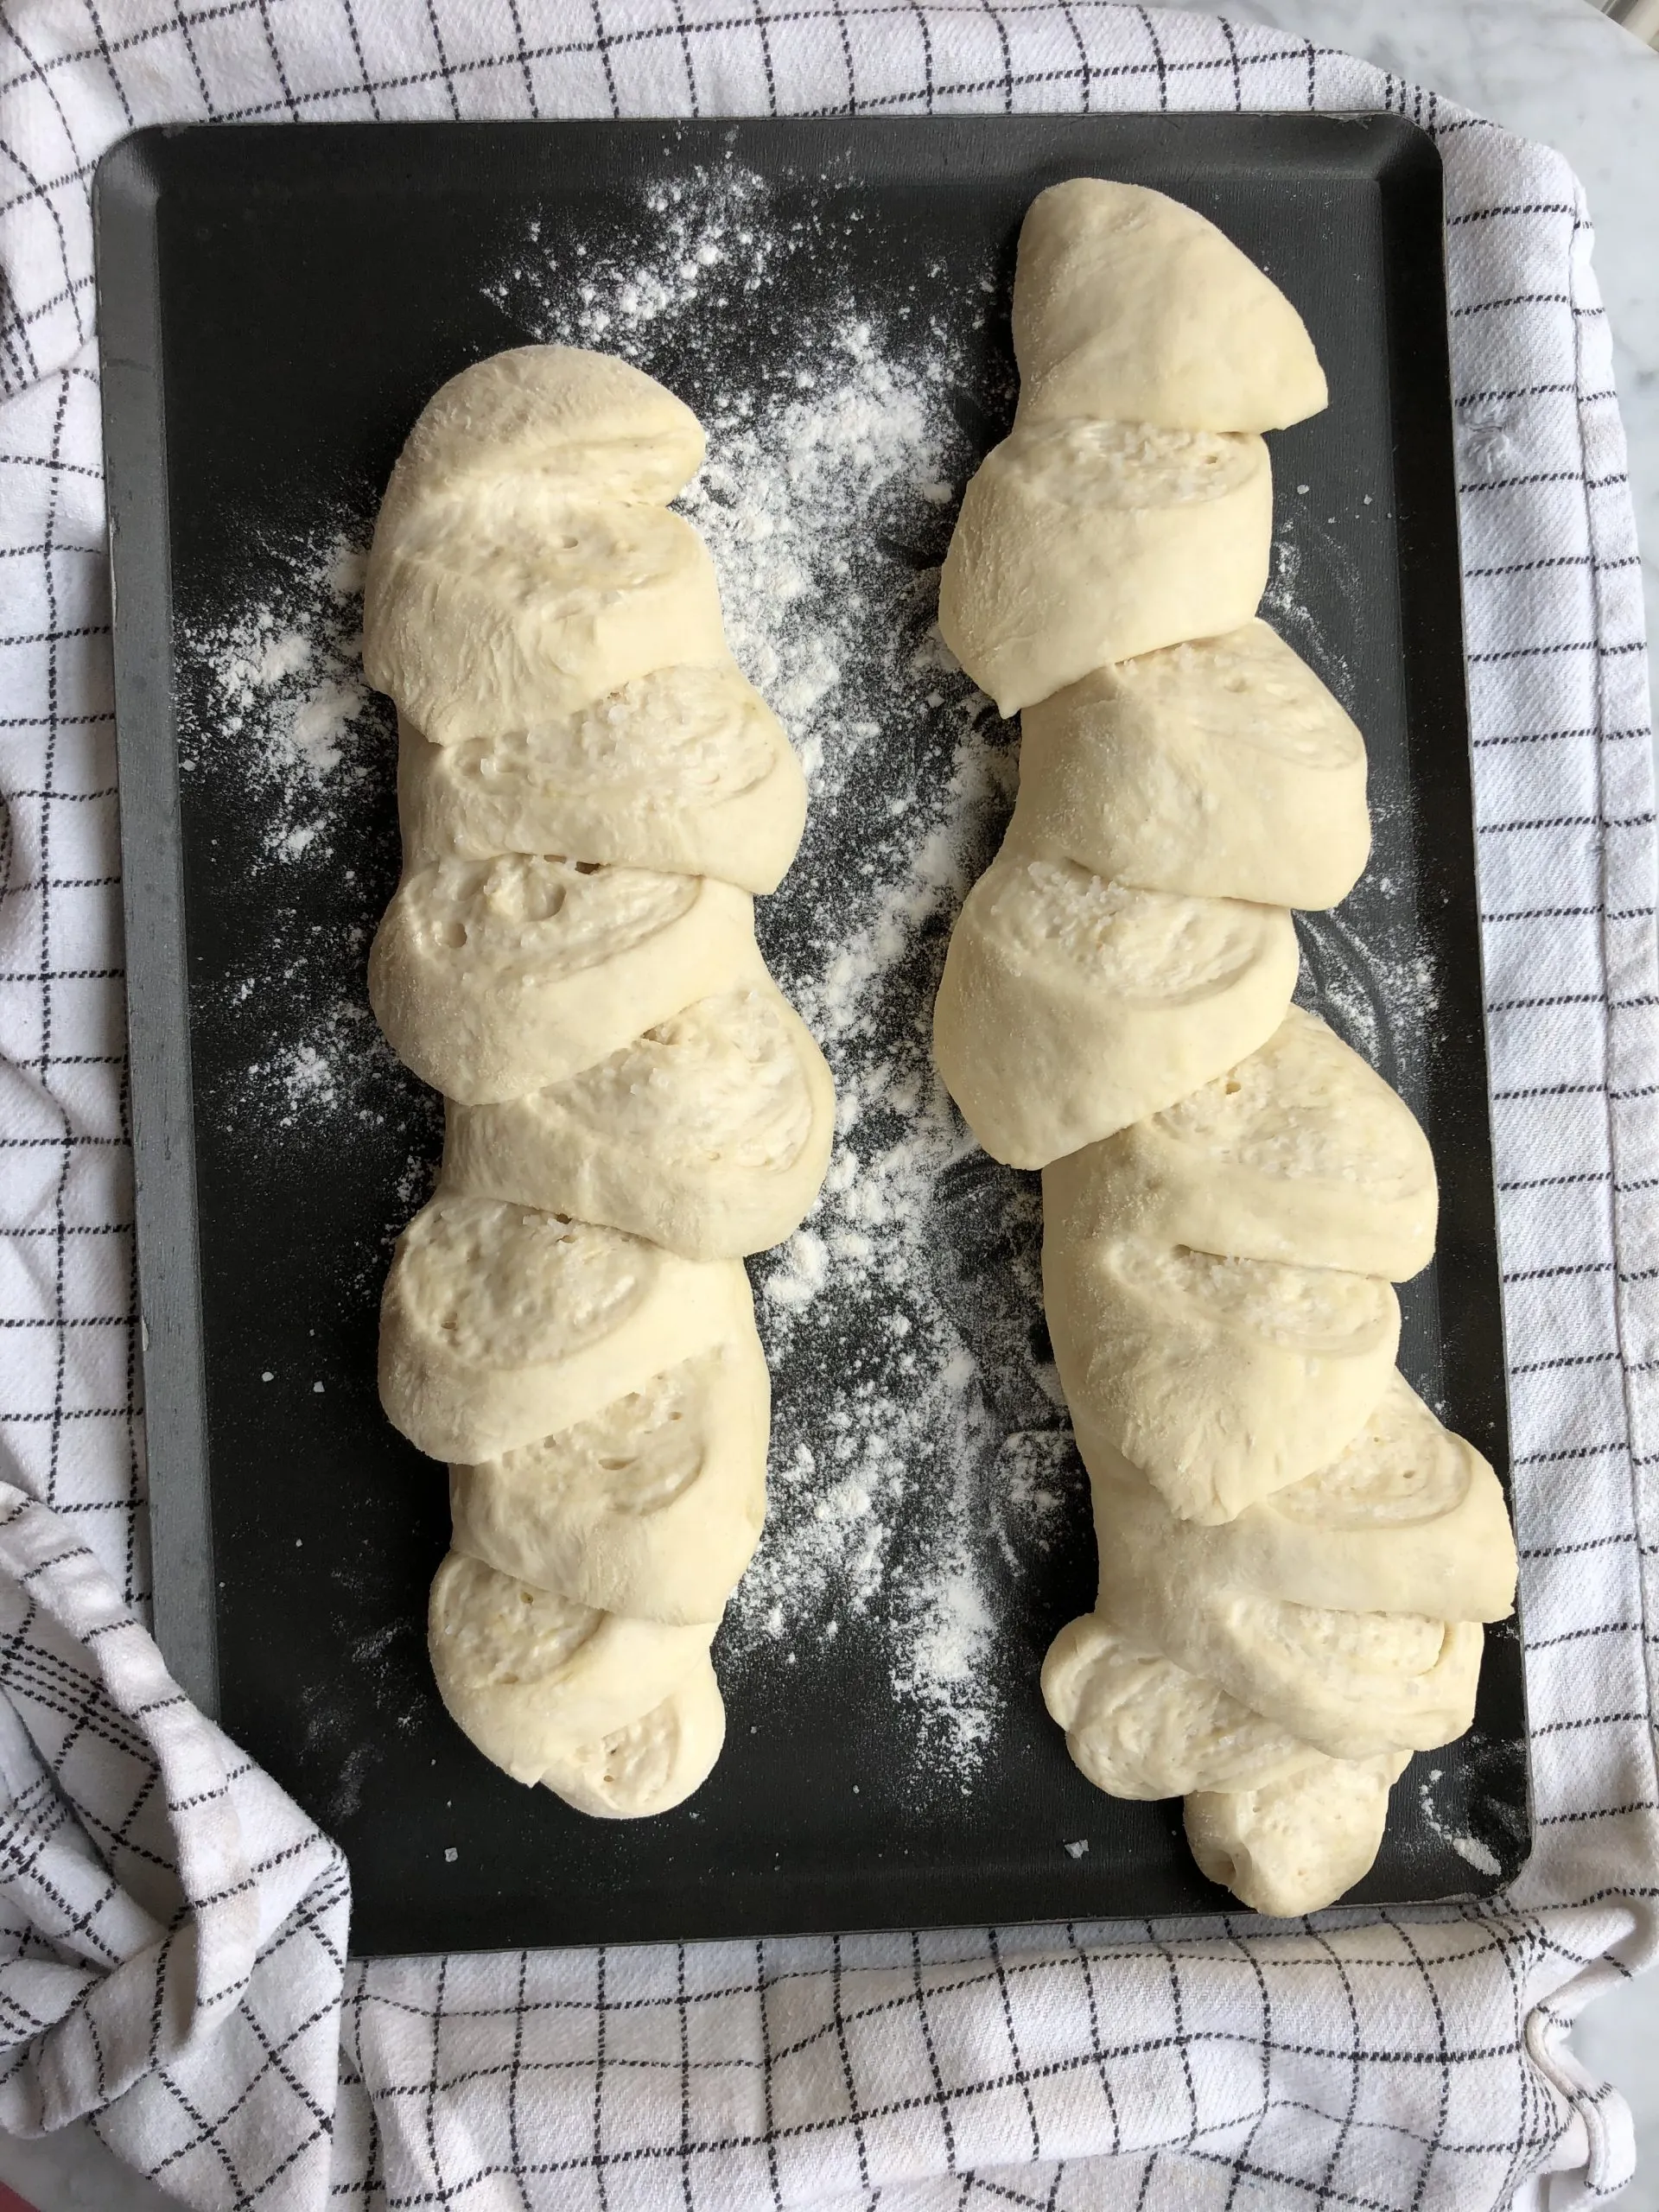
For beginners I suggest using a pair of kitchen scissors to score the baguettes as show below.
See video below for how Le Chef rolled out our baguettes and then cut (or scored) them beautifully to create tearable pieces to the baguette.
How Le Chef rolled out the dough into baguettes... and scored them in a cool way.
Place the baguettes on a cookie sheet sprinkled with flour and then sprinkle a little more flour on top. Sprinkle a little fleur de sel. Let baguettes rise for another 30 minutes (uncovered) while oven preheats.
Quick & Easy French Baguettes
Heat oven to 460 degrees. Once the oven is hot, fill a 9 inch pan halfway with water. Place on the bottom rack of the oven. The water pan creates steam and and is the key factor to that crackly crust we love and soft chewy bread interior.
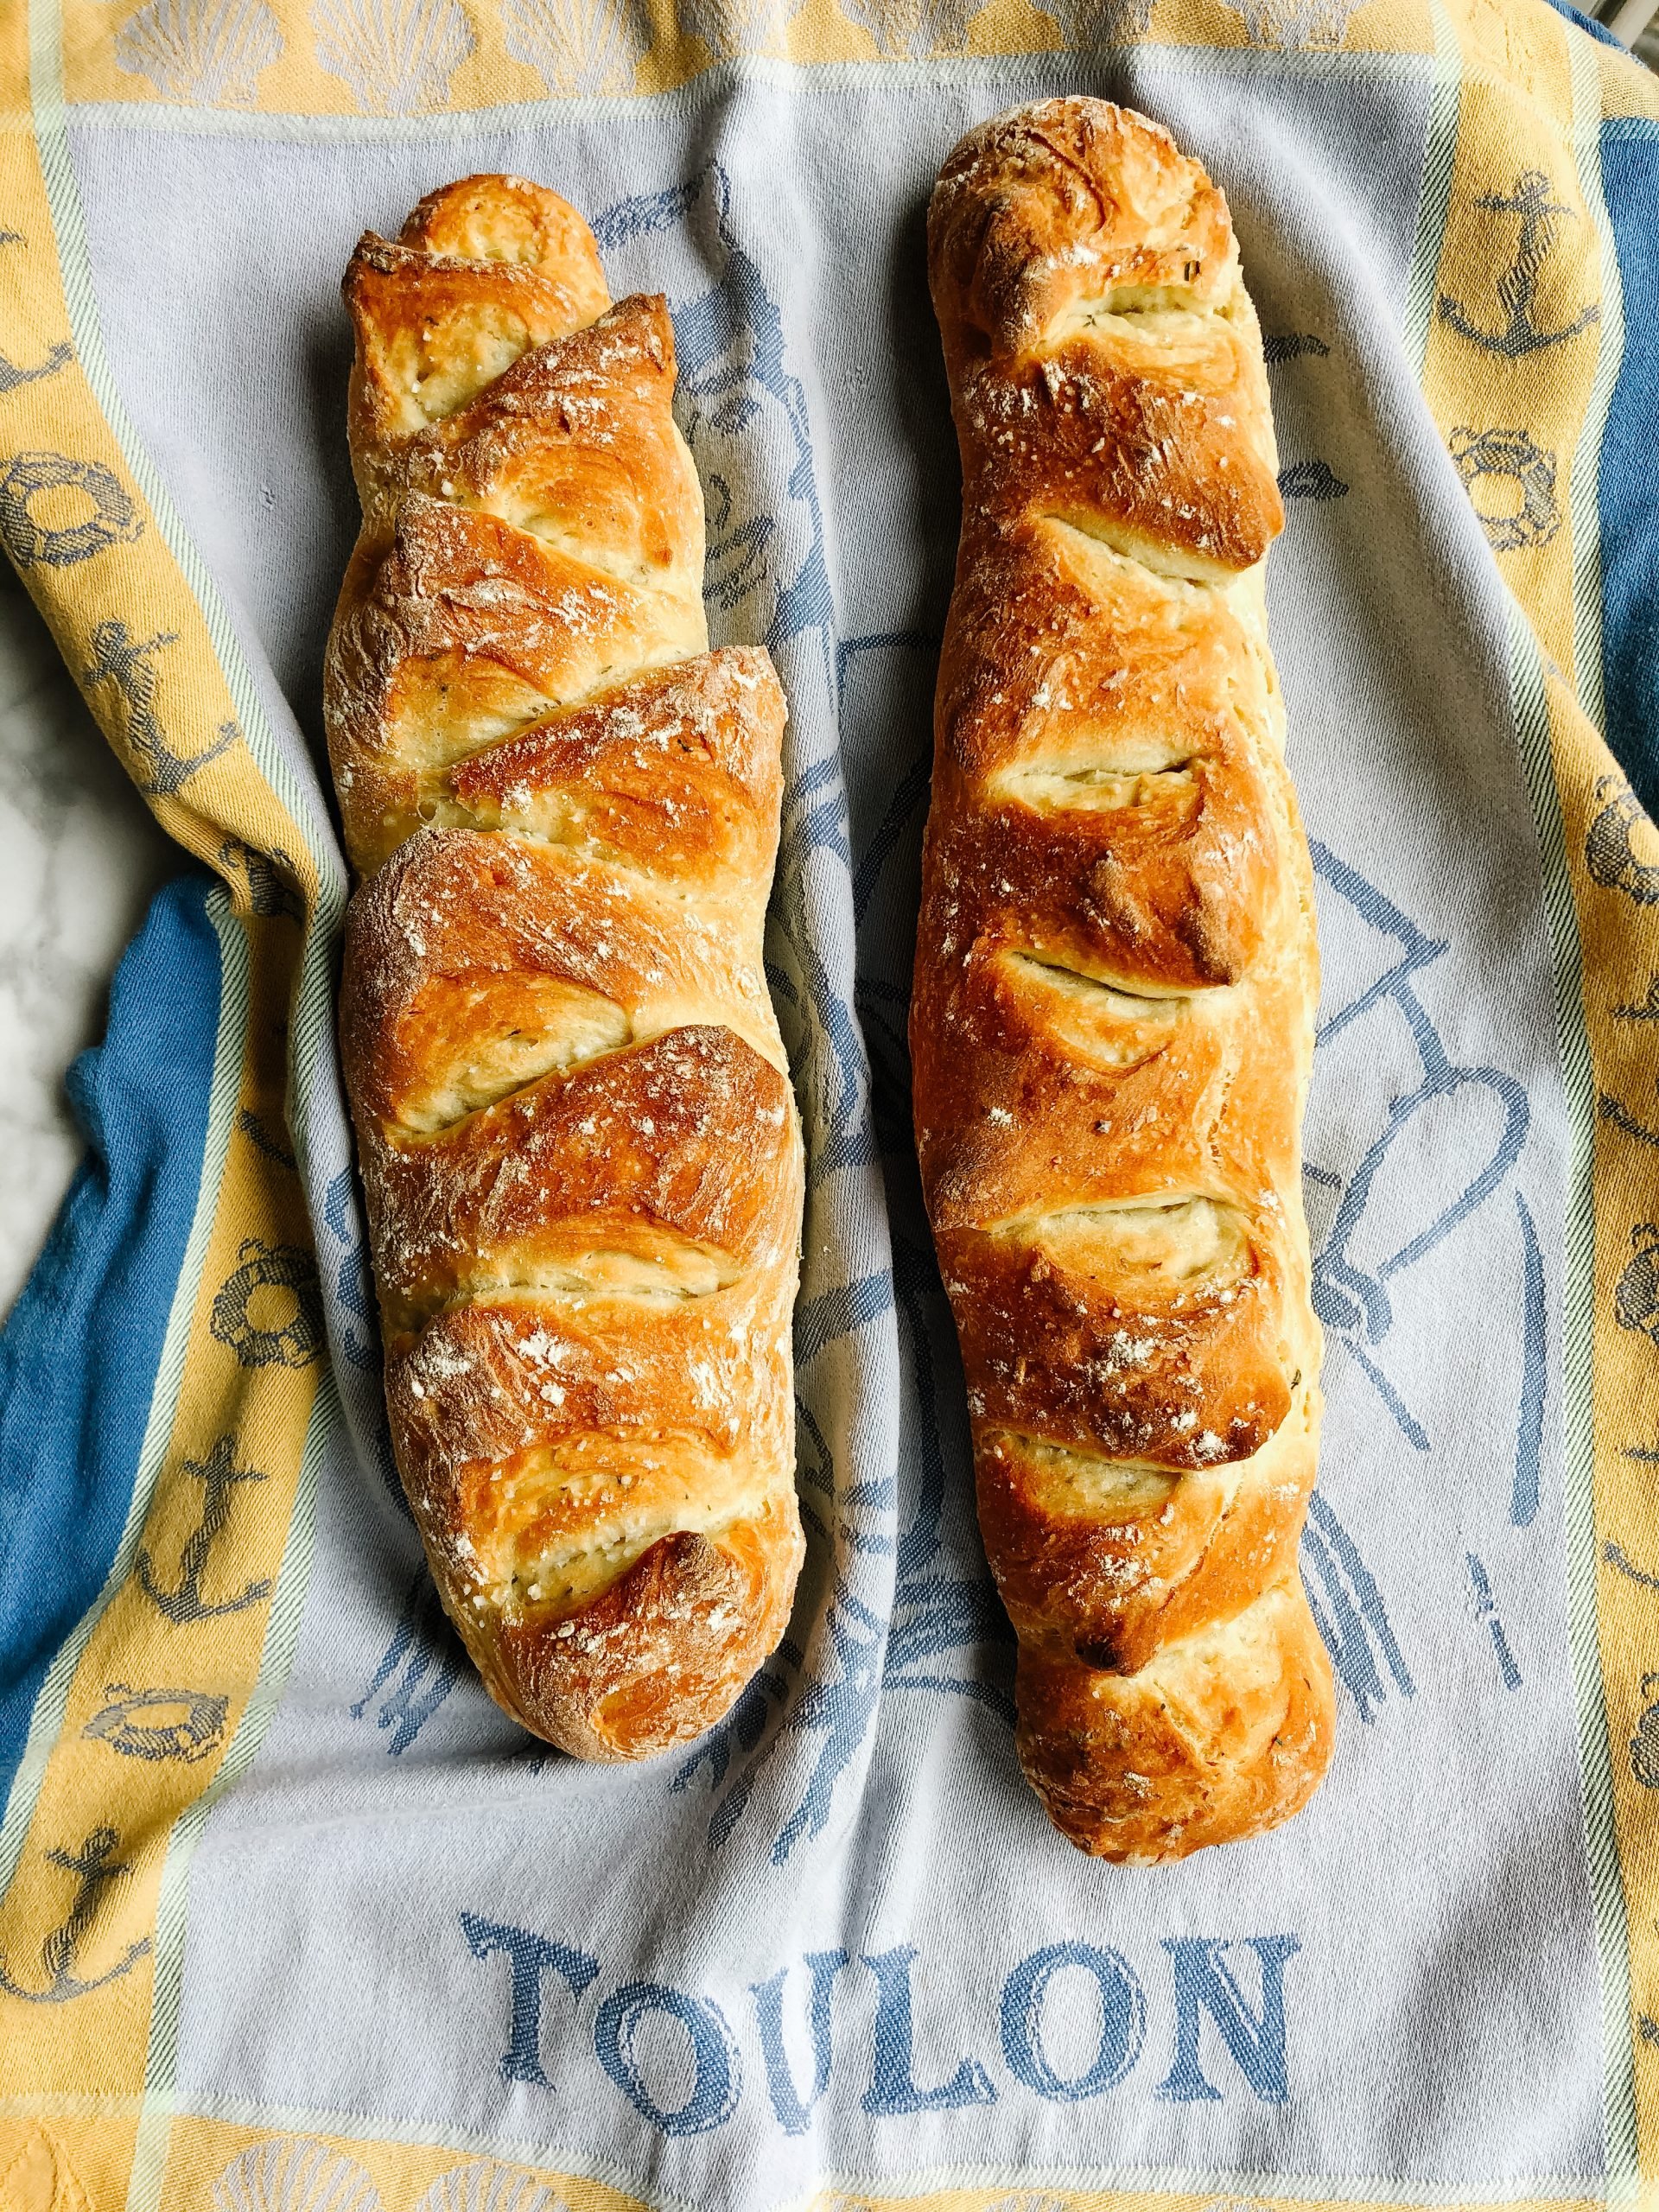
Place the cookie sheet or baguette pan on the middle rack of the hot oven. If you have a baking stone, let it heat up completely in the oven before placing your baguettes directly on the stone.
Bake for 25 minutes**. Remove the pan of water (very carefully!) and bake another 5 minutes or so. The baguettes should be beautifully golden brown and sound hollow when tapped.
** Le Chef's Wife tip: Oven temperatures can vary drastically! If this is the first time you are making these baguettes keep a very close eye on them, especially after 18 minutes or so. You want the crust to be a deep, rich golden brown but not too dark. If the top gets too dark too quickly, bring the rack down a notch and take out a few minutes earlier. Resist the temptation to bring the heat down too much - it is the hot heat that creates the delicious crust!
What we cover in the Baking Baguettes for Beginners Workshop:
- Working with yeast for beginners (we will use dry active yeast - super easy!)
- How to proof your baguettes
- Rolling out baguettes (with a few professional Chef tips you will be able to make beautiful baguette shapes!)
- Different ways of scoring baguettes
- Cooking baguettes with a simple electric oven
- Correcting mistakes in baguettes
- As well as storing baguettes and baguette recipes (in case you don't eat them all in one setting!)
Also included in the workshop:
- 1 hour live recorded Zoom session
- Live Q&A Session
- Making Baguettes for Beginners ebook
- Lifetime access to the video
- BONUS! Best French Soup Recipe Ebook
Soup Recipes that pair perfectly with fresh baked baguette
Enjoy immediately. I served with a bowl of soup and a wheel of camembert for a simple, comforting weekend lunch. I suggest you try any of my following soup recipes:
- Soupe au Pistou
- Creamy Asparagus Soup
- Minestrone Soup
- French Onion Soup
- French Lentil Soup
- Honeynut and Pumpkin Soup with Rosemary

How to store and reheat the baguettes
If you don't manage to eat both baguettes in a day, here is an easy way to save them. Wrap the remaining baguette pieces in a kitchen towel and leave on your counter.
Le Chef's Tip: To make stale baguette taste first day fresh, preheat your oven to 350 degrees. Then pop the random pieces of leftover baguettes directly on the oven rack for 5 minutes. Very important that you let your oven get fully hot before putting in the baguettes. The outside will be crusty and the insides soft and warm. Bon appétit!
Have you tried my baking baguettes for beginners recipe? What tricks have you picked up along the way?
About Le Chef's Wife

Bonjour! I am Anina Belle. I translate the fancy cooking of my Michelin-star trained French Chef Husband, Le Chef, into easy to make dishes that busy people with no culinary training (like me!) can make at home. We have two young kids (5 and 2) and I have a full time job in hospitality in addition to this blog. I strongly believe that even busy people deserve to eat well at home.
We were just recently featured on the TODAY SHOW for our recipes of French Onion Soup Gratinée and Moelleux au Chocolat. You can watch our full segment here:
I share our home cooking on Instagram, pinterest and tiktok. Sign up for my newsletter to be the first to receive my new recipes and have advance access to cooking classes. I look forward to cooking with you!
Au plaisir,
Le Chef's Wife


French Baguette Recipe
- Prep Time: 2.25 hours
- Cook Time: 30 minutes
- Total Time: 2 hours 45 minutes
- Yield: 2 baguettes 1x
- Category: bread
- Method: baking
- Cuisine: French
Description
Quick, easy French baguette recipe. Deliciously simple yet crusty and crackly, homemade French Baguettes. Follow this recipe for easy French Baguettes even first time bakers can make and with only a couple hours.
Ingredients
- 8 grams traditional yeast ( or 2 teaspoons)
- 1 tablespoon honey (natural honey worked better than the squeezable one)
- 1 ¼ cups warm water (not too hot - you don’t want to cook the yeast, just wake it up)
- 1 tablespoon fleur de sel ( if you are using table salt, use only a teaspoon)
- 2 ½ cups bread flour (I used all purpose flour which also worked fine)
- 2 tablespoons olive oil
Instructions
- Proof the yeast with the honey and warm water. For bread making novices this means putting the warm water in your big mixing bowl and adding the yeast and honey. Give it a little stir and then let it sit on the counter for 10 minutes. You will see the grains of yeast wake up and rise to the surface and expand (this is a cool process to share with kids!)
- Once proofed, add salt and slowly add the flour and olive oil until a shaggy dough is formed. I started using a spatula and then dug in with my hands to work in all the flour. Form a round ball in the bowl but be careful not to work the dough too much. No need to use the Kitchen Aid for this recipe!
- Dust the top of your dough ball with little bit of flour then cover with a towel. My Nanny’s trick was to wet a thin tea towel with hot water to cover the dough with and then place the bowl on top of the fridge for a little extra heat from the motor. I don’t have room on top of my fridge but placing the bowl on top of my dryer worked wonders. Let the dough rise until it doubles in size (about an hour) then split dough in 2 and roll out your baguettes.
Rolling out a Baguette
This is where it gets a little technical and where I struggled in my first attempt. Don't expect to make a perfect baguette on your first try. Rolling out dough takes some skill.
Sprinkle flour over your countertop.
Take the first ball of dough and gently knead it with the palm of your hand, until the dough gains a firmer consistency. Fold the dough over itself. Add a little more flour if necessary. (this is necessary if you are baking in a place with high humidity- don't be afraid to add more dough if the consistency is sticky)
Flatten the dough into a rectangle form with your hands (you don't need a rolling pin). Then fold the top of the rectangle down like the top of an envelop, about ¾ of the way down. Using your fingers, press down on the seam.
Roll the folded top of the dough down so that you have a mini oblong rectangle. Press the seams and the flip the seam side down.
Spread your fingers on both hands and gently roll the dough down to create a baguette shape. Roll back and forth to elongate the baguette dough until it is about 12 inches long.
Set the first baguette on your cookie sheet or baguette pan.
Roll out the second baguette.
If you have a razor blade you can make incisions on the top of the baguette. A sharp knife also works using just the tip to make deft cuts into the baguette.
For beginners I suggest using a pair of kitchen scissors to score the baguettes as show below.
See video in the blog post for how Le Chef rolled out our baguettes and then cut (or scored) them beautifully to create tearable pieces to the baguette.
- Place the baguettes on a cookie sheet sprinkled with flour and then sprinkle a little more flour on top. Sprinkle a little fleur de sel. Let baguettes rise for another 30 minutes (uncovered) while oven preheats.
- Heat oven to 460 degrees. Once the oven is hot, fill a 9 inch pan halfway with water and place on the bottom rack of the oven. This creates steam and and is the key factor to that crackly crust we love .
- Bake for 25 minutes **(oven temperatures vary greatly! Please keep a close eye after 18 minutes - if they look dark golden brown and sound hollow when you tap them, they are done!). Remove the pan of water (very carefully!) and bake another 5 minutes or so. The baguettes should be beautifully golden brown and sound hollow when tapped.
Au plaisir,
Le Chef's Wife
Notes
** Le Chef's Wife tip: Oven temperatures can vary drastically! If this is the first time you are making these baguettes keep a very close eye on them, especially after 18 minutes or so. You want the crust to be a deep, rich golden brown but not too dark. If the top gets too dark too quickly, bring the rack down a notch and take out a few minutes earlier. Resist the temptation to bring the heat down too much - it is the hot heat that creates the delicious crust!



Sam says
Thank you soo much for the recipe. I’ve made baguettes so many times following your recipe. It’s like magic and every time it comes out fresh and nice. I’ve added fresh rosemary to it this time.
Question- can I make the dough ahead and leave it for few hours before baking it?
I want to serve the bread hot off the oven.
Thank you soo much 🙏🏼
Lyndsey says
Bonjour! This was fun to make and the first successful bread recipe I’ve tried! I’ve always had trouble in the past baking bread and had nearly given up before I tried this. Great instructions & the rolling video helped. I had to add quite a bit more flour due to the high humidity in my house as expected. Maybe it was a matter of my rolling technique or yeast, but It turned out just a tiny bit denser than I would have liked. Do you have any tips on how I could make it more airy next time? Merci beaucoup! 🙂
lechefswife says
Hello Lyndsey, I am so glad you liked the recipe!! thank you for taking the time to comment. mI would suspect that the density came from the additional flour you added. Even a very humid dough can come together nicely when after you shape the baguettes. Try adding less flour next time and let me know! Bon Appétit!
Kitty Fowler says
I've asked before but have not seen the answer posted yet. Can I use whole wheat flour for this recipe? Can I add sourdough starter and, if so, how and when?
Thanks so much!
lechefswife says
Bonsoir Kitty, I apologize for the late reply. Thank you for your comment. You can use whole wheat flour however the baguette is more dense than with All purpose or bread flour. If you are using sourdough starter add it at the first prove with the water and flour. Also it may require more time to rise depending on how active your sourdough starter is. I hope this helps! Have a good evening, Anina Belle
Raphael Garcia says
more to support comments as I have questons. What Le Chef did is called "Épis", as it looks (or supposed to) like un épis de blé (ears of wheat), by far I prefer the French term, more poetic.
The recipe provencal adding olive oil is very closed to the pizza or fugasse one, ...my question coming
I am just surprised/concerned that he added salt to the watery yeast and oil to the flower. Wasn't it the opposite? Oil with water as it will spread all over and salt with flour so that yeast does not touch the salt directly? I failed so far to make a proper baguette and proper croissants, but I had decent pizzas, fougasse and calzone, I put the salt after the flour or premixed with flour(?)
Kitty Fowler says
I am excited to use this recipe as I have never been able to find a baguette as good as those I eat in Paris (and eat a lot of them while there!)
My questions are:
can I add a sourdough starter and if so how and when?
Can I make this with whole wheat flour and if so do I have to do anything differently?
Thanks so much and I enjoy yr recipes.
Madhura says
This recipe is perfection! We have made countless batches and shared with family and friends. The response is always overwhelming! Baking does not come naturally to me so never did I think a homemade baguette possible. Thank you for sharing
lechefswife says
Chère Madhura, Thank you so much for your kind support! It means the world to me. I am so glad this recipe has brought your family, and your community so much joy!! Thank you for sharing 🙂
Adriane says
So easy and satisfying! The first bread recipe I have ever made that consistently works.
lechefswife says
Chère Adriane, Thank you so much for taking the time to share your kind words! I am so glad you enjoy the recipe!
Villa mama carmen says
This is the absolute best and easiest recipe I’ve ever baked and I’m not a baker! I literally mess up tube refrigerator cookies. The crust on the bread is crunchy and the inside is soft. We have it 2x in the same week, it’s divine and the videos are an added bonus! Thank you so much for making me the star of our dinner table with your recipe.
lechefswife says
Thank you so much for your kind comment! It makes me so happy that this recipe brings so much joy to your family! It is for stories like this that I write this blog. THANK YOU!
Lina Abdul Halim says
Hello. Thank you for your recipe. I just want to ask about the oven settings. I have a gas oven. Do I turn on both top and bottom heat or only from the bottom ?
Thank you in advance
lechefswife says
Hello! I have an electric oven so I am not sure to be honest. If you are unsure, start with heating just the bottom - you don't want to broil the bread if that is the effect of heating from the top too. Good luck!
Joan Lattanzio says
Incredibly easy and delicious. thank you so much!
lechefswife says
I am so glad you enjoyed them and thank you for rating the recipe - it really helps! Merci beaucoup
Pamela says
I feel like I am doing the yeast wrong or it is not rising well. I put the years in a bowl with warm water and the honey. I whisk and let sit for 10 mins. Added the items as instructed and wait an hour. I feel like mine came out much smaller and more dense. I let rise a second time and still did not look as plump. Might you know of ways to confirm I am doing it correctly. I stored with a warm tea towel covering in an open above oven microwave in a 70 degree room.
lechefswife says
Happy New Year Pamela! Thank you for your comment. Is your yeast foaming after the 10 minutes? If the yeast is not foaming it could be that your yeast is old or no longer active. I would suggest trying with new yeast - yeast can be tricky! I use Bob's Red Mill active dry yeast. Good luck!
Jamie Enns says
I've been using this recipe for the last several months. We absolutely love these baguettes. Thank you!
lechefswife says
Thank you SO MUCH for sharing this Jamie! This makes me so happy to read. Happy Thanksgiving to you and your family!
Catherine says
Good evening,
I’m eager to try this recipe but I do have a question. In the video on Instagram you knead the dough before shaping but no kneading in the video on the blog. The question is do I need to knead?
Thank you so much and I look forward to making this recipe.
Catherine
lechefswife says
Hello Catherine, I actually like to knead so I probably have started doing it more. You really only need to knead it a couple times to get the round smooth shape that we are looking for. Let me know how your baguettes turn out!
Gerri Rustan says
Can I freeze these? One is more than enough for a couple of meals.
lechefswife says
Hello Gerri, Thank you for your comment!
You can freeze a fully cooked baguette for sure. Wrap it tightly in saran wrap to freeze.
When you are ready to use it, let defrost on the counter for 30 minutes. Preheat your oven to 350 degrees and wait until it is fully hot before putting the baguette in for 5 minutes.
It should be soft and warm on the inside and crusty on the outside. Enjoy!
SaraE says
So I tried this recipe for the first time and the resulta were pretty good. However, I feel i had to add a bit more flour to the recipe to be able to get the ball of dough. Also please advise if the baguettes should go into the top rack or close to the water. I put mines in the middle rack above the water and then to the top rack, It took approx. 25-30 mins to get done. All in all, great recipe and great results. Merci beaucoup!!
lechefswife says
Bonjour thank you for your comment! I am so glad you enjoy the recipe. There are so many things that can vary when making bread. I also find that I need to add a little more flour when the weather is really humid sometimes - I am not sure if that was the case for you. I put the water on the bottom rack and the bread on the middle rack. Oven temperatures vary drastically as well. I had to shave 5 minutes off the recipe when I changed oven too! Test it a little for your surroundings and don't be afraid to modify the recipe so that it works for you. Enjoy!
Nura Mendez says
I’ve made this recipe a handful of times now as it’s become my sole baguette go to! I still can’t believe I made them each time. No more store bought baguettes for us. Of all the bread dough recipes I’ve tried none have this heavenly feel when your mixing the dough. It’s a glimpse into the magical creations you end up with.